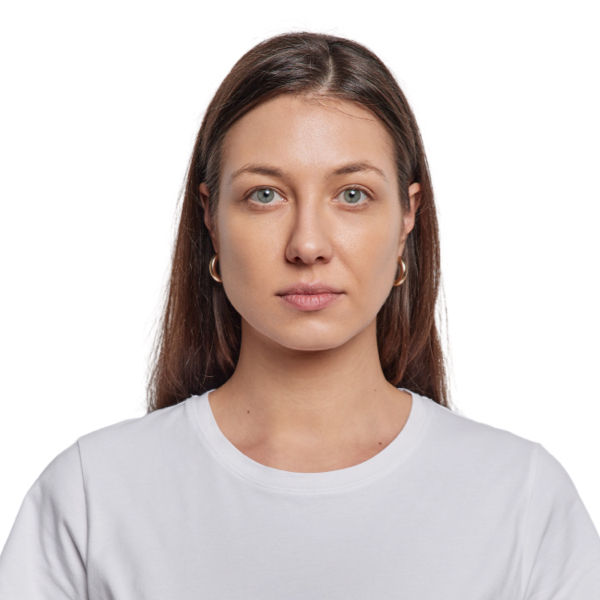
A digital passport photo is a convenient option for passport applicants. It allows you to take control of the photo-taking process and can be easily used for online passport applications. Here’s a detailed, step-by-step guide on how you can take and convert your passport photo to a digital format.
Step 1: Understand Passport Photo Requirements
Before taking your photo, you need to understand the strict guidelines set by Travel.Gov for passport photos. This includes requirements on size, background color, expression, attire, and more. If your photo doesn’t meet these requirements, your passport application may be rejected.
Step 2: Choose the Right Environment
Find a location with soft, even lighting and a plain white or off-white background. Avoid standing under direct light to prevent harsh shadows. Ensure that the place is well-lit so your face is clearly visible.
Step 3: Set Up Your Camera or Smartphone
If you’re using a smartphone, you can refer to our guide on how to get your perfect passport picture with your iPhone. Set your camera at eye level about 4 feet away from you. This distance helps maintain the correct proportions of your facial features.
Step 4: Position Yourself Correctly
Stand in front of the camera, facing directly towards it. Keep a neutral facial expression with both eyes open. Make sure you’re not wearing any glasses, and unless they’re worn daily for religious purposes, hats or head coverings are not allowed.
Step 5: Capture the Photo
With everything set, it’s time to capture your photo. It might be easier to have someone else take the photo, but if you’re alone, using a timer on your camera or smartphone is a great workaround.
Step 6: Review the Photo
Make sure the photo meets all the necessary requirements – the right expression, clear lighting, correct background, and more. If not, retake the photo until you have one that fits the bill.
Step 7: Convert to Digital Format
Once you have the perfect shot, it’s time to convert it into a digital passport photo. If you took the photo on a digital camera, transfer it to your computer. If you used a smartphone, the photo is already in a digital format.
Step 8: Crop to the Correct Size
The final photo needs to be 2 x 2 inches with your head occupying between 1 inch and 1 3/8 inches. There are many free online tools that can help you crop the photo to the right size.
Step 9: Use AI-Powered Passport Photo Service
This step is optional, but it can significantly simplify the process. Our AI-Powered Passport Photos service allows you to upload your photo, and our AI technology checks it against all passport photo requirements, crops it to the correct size, and provides a perfect, compliant digital passport photo.
Conclusion
Turning your passport photo into a digital format can be a quick, convenient, and cost-effective process, saving you from having to go to a professional studio or store. It gives you the control to take as many photos as you like until you get the perfect one. By following this guide, you’re well on your way to getting a digital passport photo that meets all the necessary requirements.
Whether you choose to go digital, DIY, or traditional, knowing where to get the perfect passport photo and the cheapest places for passport photos can help you make an informed decision.


