In the digital age, DIY has taken on a whole new meaning, and that includes taking your own passport photos. With a little know-how and some basic equipment, you can snap that perfect passport photo right from the comfort of your home. Let’s dive into the nitty-gritty of how to take your own passport picture and make it a breeze. You can also use a passport photo maker to make the process even easier!
Understanding Passport Photo Requirements
Before you start snapping away, it’s important to know the rules. Passport photos have strict guidelines: size, background, facial expression, and more. Each country has its own specifications, but generally, you need a neutral expression, a plain white or light-colored background, and no accessories that cover your face. In the United States there are certain requirements, you can read more about those here: passport photo requirements. Make sure to check your country’s specific requirements to avoid any hitches in your application.
Setting Up Your DIY Studio
You don’t need a professional studio for a passport photo. A well-lit room, a plain wall or a white sheet as a backdrop, and a good-quality camera (even a smartphone works) are all you need. Natural light is your best friend, but if that’s not possible, set up lamps to create even, shadow-free lighting.
Taking the Right Shot
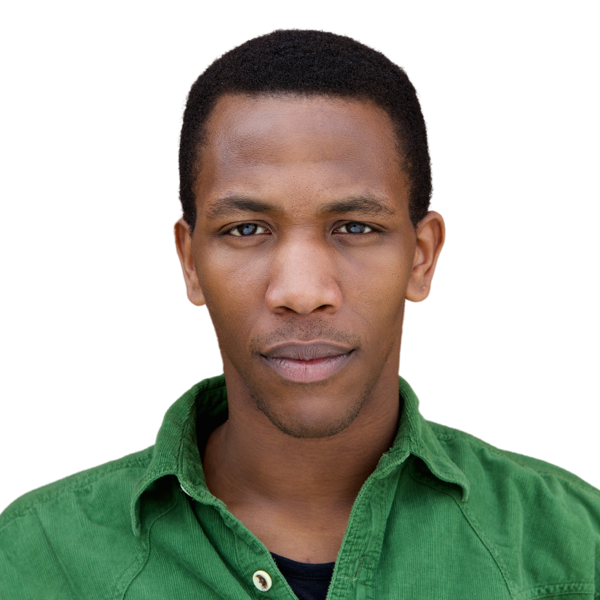
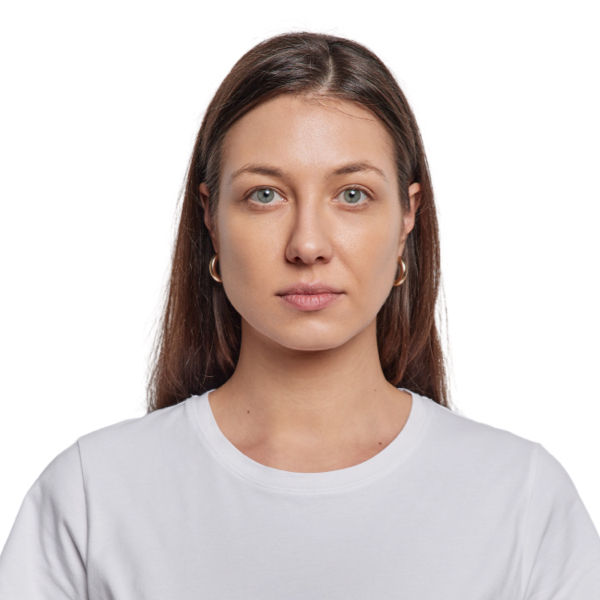
The key to a great passport photo is simplicity. Stand against your plain background, keep your face in full view, and maintain a neutral expression. Remember to look straight at the camera, keep your eyes open, and avoid any headwear or glasses, unless they’re for medical reasons. It’s all about capturing a clear and honest representation of yourself.
Editing and Cropping the Photo
Once you’ve taken your photo, you might need to make some minor edits. This could include cropping the photo to the right dimensions and adjusting the lighting. However, avoid heavy editing or filters – your photo should be a true representation of your appearance. For examples passport photos that meet the requirements and were approved, check these approved passport photos.
Printing Your Passport Photo
After editing, print your photo on high-quality photo paper. This is crucial to avoid any rejections due to poor photo quality. If you don’t have a photo printer, local print shops or online photo services can print your photo to the correct passport specifications.
The Advantages of DIY Passport Photos
Taking your own passport photo is not just about saving money, it’s also about convenience and control. You can take as many shots as you need to get the perfect one, and you’re in control of how you present yourself, ensuring you’re happy with the final picture that will accompany you on your travels.
Common Mistakes to Avoid
Be wary of common mistakes like poor lighting, the wrong background, or an inappropriate expression. These can lead to your photo being rejected, costing you time and possibly even affecting your travel plans.
Conclusion
To wrap up – taking your own passport photo is a straightforward process that can save you time and money. With attention to detail and a bit of practice, you can produce a passport photo that meets all the necessary criteria and perhaps even captures you on a good day!